Mastering Corner Bead DIY With Drywall Contractors

February 5, 2025
Drywall Contractors Phoenix

Are you a homeowner working on drywall repair or home remodeling for the first time? Installing drywall corner bead may feel challenging. But don't worry! With the right help, you can get great results. This easy guide will take you through every step. You will learn the basics and pick up techniques for a perfect finish.


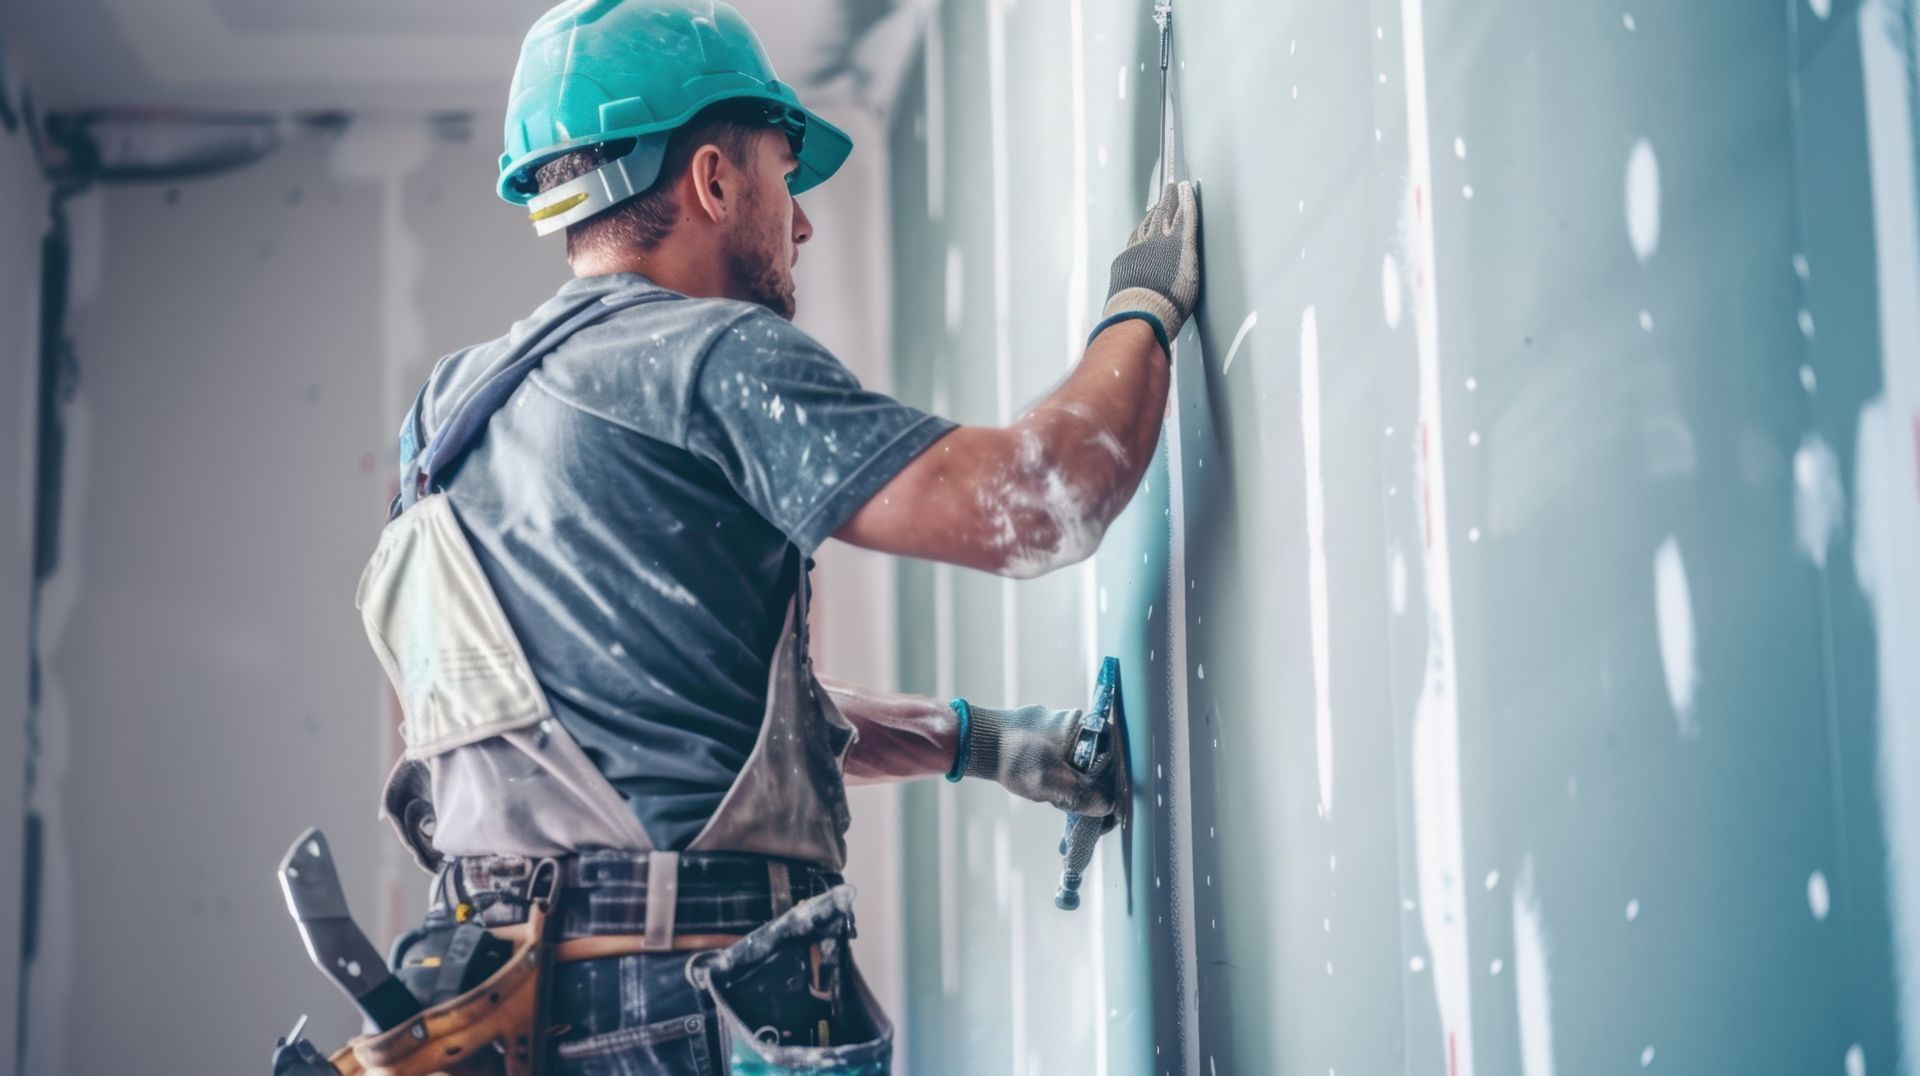
Understanding Drywall Corner Bead Installation


Drywall corner bead is very important for making smooth and strong corners. It stops damage to your corners and helps create a nice, professional look. When installing drywall, the edges of the drywall sheets meet at a corner that forms a 90-degree angle. These corners are more likely to get hit and worn out, so they need special care—this is where drywall corner bead helps!


Homeowners should know how to install it correctly to get good results that last. Proper installation helps make your corners look nice and stay strong. This guide will help you feel confident in handling this part of your drywall project.


The Importance Of Professional Installation


DIY projects can be fun, but getting a professional to install your drywall brings great results. At Professional Home Repair, our team has many years of experience with all kinds of drywall work. We know different types of corner beads and use the best methods to get the perfect finish.


Why is it important to have a professional install your drywall? It helps ensure that your drywall lasts longer. Experts know how to put the corner beads in correctly from the start. This reduces the chances of future problems like cracks, bends, or looseness.


Also, when you choose professional installation, you can feel confident that the job will be done quickly and well. This choice saves you time and effort and keeps you from dealing with problems later on. See more on Drywall Contractors: Finishing Techniques.


Types Of Drywall Corner Beads Explained


Before diving into the installation process, it's crucial to be familiar with the common types of drywall corner beads. Each type serves a specific purpose and has advantages depending on the project requirements.


Below is a table explaining the common types of corner beads:

Corner Bead Type Description Application
Metal Corner Bead Most common, made of galvanized steel or aluminum Ideal for high traffic areas, provides strong impact resistance
Paper-Faced Bead Metal bead with paper flanges Easiest to install, best for less demanding applications
Plastic Corner Bead Lightweight and flexible Suitable for rounded corners and arches

Understanding the different types helps you choose the right corner bead for your specific needs.


Preparing For Drywall Corner Bead Installation


Before you start the installation, gather your tools and materials. Good preparation makes the installation easier. It helps to avoid problems along the way. If you have questions or feel uncertain about anything, ask a skilled handyman or a drywall expert. This is especially important if you are doing this for the first time.


As a drywall contractors Phoenix ensuring the correct installation of corner beads is vital to prevent future issues like cracks or bends. Opting for professional installation guarantees a quick and well-done job, saving time and hassle down the line. Understanding the types of corner beads available, such as metal, paper-faced, and plastic, allows you to choose the most suitable one based on your project needs.


Before diving into installation, adequate preparation with the right tools and materials is key. Seek guidance from a skilled professional if needed to ensure a smooth process.


If you live in Phoenix, Arizona, you can always contact us at Professional Home Repair for help.


Tools And Materials Needed For The Job


Having the right tools and materials is very important for a good installation. Here’s a handy checklist to help you get ready:


  • Drywall corner bead (pick the right type for your project)
  • Measuring tape and pencil
  • Tin snips or utility knife (to cut the metal corner bead)
  • Drywall compound (also called joint compound)
  • Drywall taping knife (6-inch and 10-inch are best)
  • Utility knife
  • Medium-grit sandpaper
  • Safety glasses and gloves


By having these tools and materials ready before you start your work in Phoenix, AZ, the installation will go much better.


Step-by-Step Preparation Guide


Follow these steps to get your drywall ready:


  • Inspect the Corners: Check the corners for damage, loose drywall, or bumpy surfaces. Fix these problems before you install the corner bead.
  • Measure and Cut: Measure each corner and cut the corner bead to fit using tin snips or a utility knife.
  • Prepare the Joint Compound: Mix a small amount of drywall compound until it is smooth and easy to work with.


With these steps done, you are ready for the next part!


The Installation Process


Now that you are ready, it's time to start the installation. If you follow the right steps, you will get a safe and neat result. Remember, Professional Home Repair cares about good customer service and offers a reasonable price. If you need help or advice with your drywall corner bead installation, please contact us.


When it comes to drywall installation in Phoenix, having the right tools and materials is crucial for a successful project. Professional Home Repair is here to assist you every step of the way.


To ensure a smooth installation process, make sure you have essential supplies like drywall corner bead, measuring tape, utility knife, drywall compound, taping knives, sandpaper, and safety gear on hand. These will help you achieve a professional finish.


Before starting the installation, carefully inspect the corners, measure and cut the corner bead to size, and prepare the joint compound for a seamless application.


Cutting And Fitting Drywall Corner Beads


Accurate cutting and fitting are important for a good finish:


  • Measure Twice, Cut Once: Always check your measurements before cutting the corner bead. This helps you get a good fit.
  • Cutting Techniques: Use tin snips for straight cuts when working with metal corner bead. Use a utility knife to score it and then snap it.
  • Test the Fit: Place the cut corner bead in the corner to make sure it aligns with the corner’s length.


By following these steps, you will avoid mistakes when you install it.


Securing The Corner Beads With Professional Techniques


Securing the beads is very important for lasting results. Here’s how the pros do it:


  • Applying Joint Compound: Put enough joint compound on the back of the corner bead. Make sure it covers evenly.
  • Positioning the Bead: Align the corner bead with the corner. Press it firmly into the joint compound.
  • Securing with Drywall Nails: Nail down the edges of the corner bead with drywall nails. Space them about 6-8 inches apart.


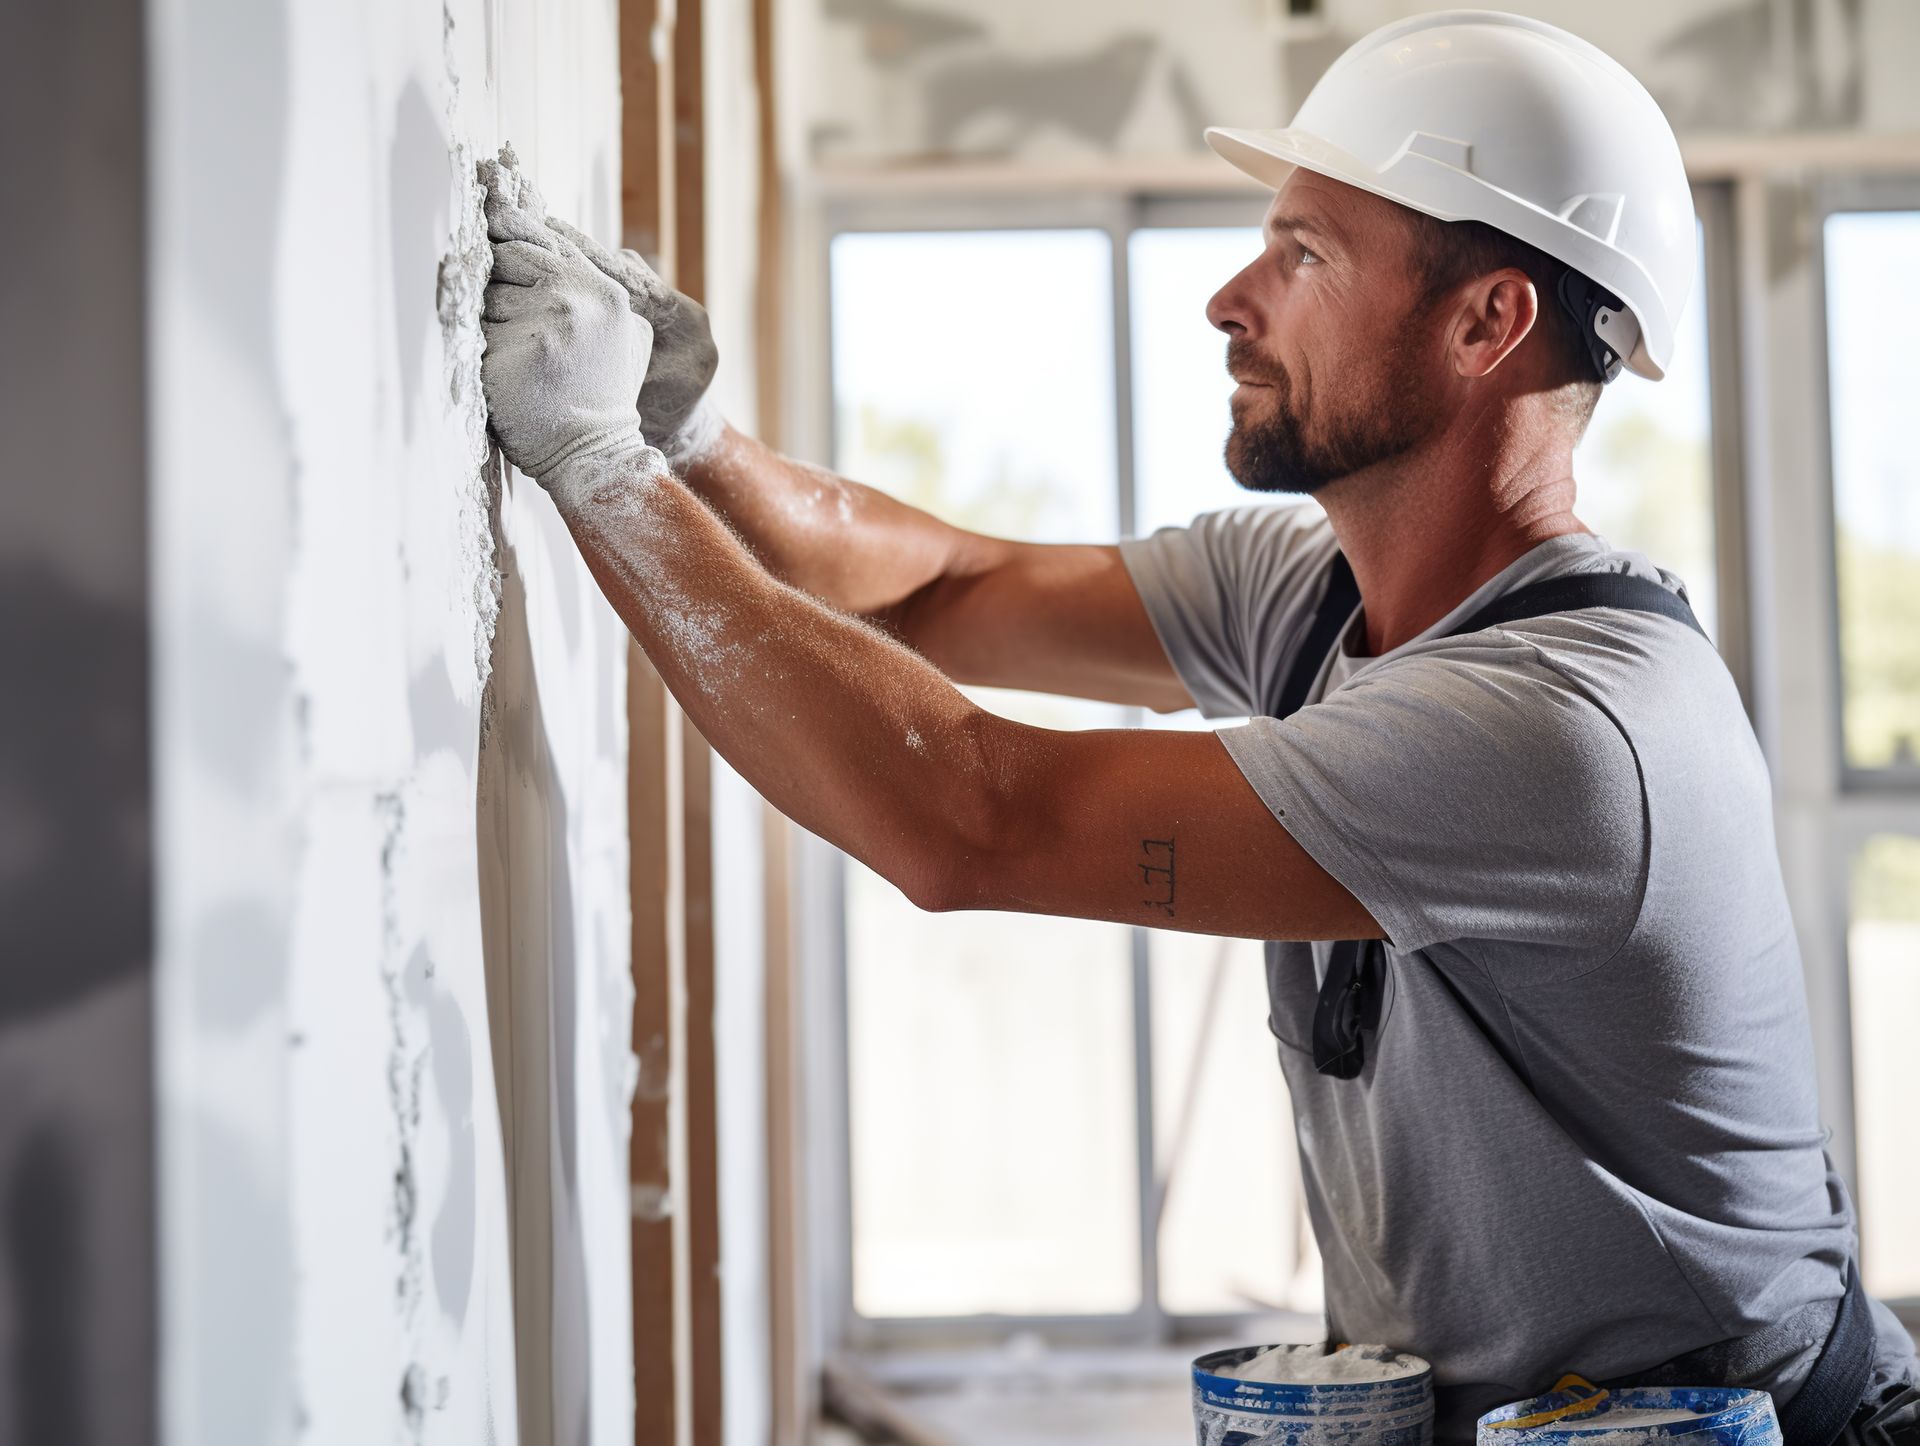
Finishing Touches For A Professional Look


Getting a professional look is the main goal. You need to apply joint compound the right way. After that, sand it down to create a smooth surface. These last steps make it look better and help it last longer.


Drywall installation requires precision and attention to detail to achieve a professional finish. When working with corner beads, accurate measuring and cutting are crucial for a seamless fit. Remember the age-old rule: measure twice, cut once. Utilize the right tools such as tin snips for metal corner beads and a utility knife for scoring.


Properly securing the corner beads is key to long-lasting results. Apply joint compound evenly on the back of the bead before positioning it carefully in place. Secure it with drywall nails spaced evenly for maximum durability.


Applying Joint Compound Correctly


Applying joint compound well is important for a smooth finish.


  • First Coat: Use a 6-inch drywall knife to spread a thin layer of joint compound over the corner bead. Blend it out onto the drywall surface.
  • Second Coat: Once the first coat is dry, put on a second, wider coat of joint compound. Make it reach further onto the drywall.
  • Third Coat: You might need a third coat for the finish you want. Use a 10-inch drywall knife for a smoother look.


Following these steps will help you blend the corner bead and wall surface nicely.


Sanding and Painting For A Seamless Finish


The last steps to get a professional-looking finish are sanding and painting:


  • Sanding: After the joint compound dries fully, use medium grit sandpaper. This will help to smooth out any bumps or flaws.
  • Priming: Next, put on a primer made for drywall. This helps seal the surface and gives a solid base for the paint.
  • Painting: Finally, apply two coats of your chosen paint. Make sure to let each coat dry completely.


Conclusion


For a perfect finish when installing drywall corner bead, rely on the skills of Professional Home Repair. It's important to know the different types of corner beads and to use the right methods for a neat result. Make sure you have the right tools and materials ready. Follow the step-by-step guide closely. Pay attention to the final touches for a smooth appearance. With careful cutting, fitting, and securing, plus putting on the joint compound, your walls will look professionally done. To get a great job done, contact Professional Home Repair today!

You might also like

Professional Home Repair Blog

Phoenix handyman
By Dezaraye Wertman October 17, 2025
Professional Home Repair offers expert door repair services for residential and commercial clients. From warped frames to broken hinges, get fast, reliable door repair today.
Drywall Repair Gilbert AZ
By Dezaraye Wertman October 10, 2025
Drywall Repair in Gilbert, AZ: Trusted Local Experts for Flawless Results
By Rae of Light SEO Team October 3, 2025
If you live or own property in Scottsdale, Arizona, sooner or later you'll likely have to deal with drywall damage — cracks, holes, water damage, dents, or shifting joints. The intense desert heat, monsoon storms, and day-to-day wear and tear all take a toll on walls and ceilings. In this post, we'll walk you through everything homeowners and property owners in Scottsdale should know about drywall repair in Scottsdale , from cost drivers and common issues to when DIY won’t cut it and why Professional Home Repair is a top choice in Scottsdale for drywall repair and maintenance. Why Drywall in Scottsdale Faces Unique Challenges Before diving into repairs, it’s helpful to understand the environmental and structural stresses that drywall in Scottsdale experiences: Extreme temperature swings : Scottsdale’s summer highs and occasional cold snaps can cause materials to expand and contract, making drywall seams more prone to cracking. Low humidity, then sudden moisture events : The desert climate is usually dry, but monsoon season brings intense storms, and occasional leaks or plumbing issues can expose drywall to water damage. Settlement and shifting foundations : As with many desert communities, shifting soils and settling homes can move framing slightly over time, stressing drywall joints and causing cracks. Wear and tear, knocks, punctures : Everyday living—furniture movement, kids, pets, hanging pictures—means drywall is subject to nicks, dents, and holes. Because of these conditions, Scottsdale drywall repair isn’t just about slapping on joint compound. It requires assessing root causes, using materials suited for the climate, and ensuring long-lasting finishes. Common Types of Drywall Damage in Scottsdale Here are the most frequent issues homeowners face in the Scottsdale area: Hairline cracks and joint separation Small cracks along seams or corners, especially near windows, door frames, or ceilings. These often result from movement, settlement, or expansion/contraction. Medium to large holes / punctures Resulting from accidental impacts (doorknobs, furniture, tools), plumbing or electrical penetrations, or remodeling missteps. Water-damaged drywall / stains Caused by leaks, plumbing problems, roof or window leaks, or humidity intrusion. Water damage often shows discoloration, sag, peeling paint, or soft, crumbly drywall. Ceiling damage / sagging Ceilings can sag due to attic leaks, poor joist support, or prior damage. Repairing a ceiling often requires more care than walls. Texture mismatch / blending issues After patching, the repaired area must match existing texture (knockdown, orange peel, skip trowel, smooth) to be invisible. Mold or mold-related damage If moisture remains long enough, mold can grow behind drywall, necessitating removal and remediation. Cracks that reappear If underlying structures aren’t stabilized, cracks may return. This is why proper preparation is key. Each type demands slightly different strategies, materials, and care. Factors Influencing Cost for Drywall Repair in Scottsdale, AZ Before calling a contractor, it helps to know what drives pricing. Here are the key factors that affect drywall repair cost in Scottsdale: Severity / size of damage A small patch (a few square inches) costs much less than replacing an entire 4'×8' panel or dealing with water-damaged sections. Accessibility / height / ceilings Repairs on ceilings, high walls, or awkward locations require more labor and scaffolding. Material and finish complexity Matching texture requires additional expertise and time. Underlying issues If mold, structural shifting, or water sources must be addressed first, those costs add on. Drying, dehumidification, and prep work For water-damaged walls, drying, removal of damaged drywall, and remediation is needed. Labor rates in Scottsdale / metro Phoenix area Local labor rates and contractor markup matter. According to local sources, drywall repair in Scottsdale typically runs $50–$70 per hour plus materials. Step-by-Step: How a Professional Drywall Repair Process Works Here's how an expert drywall repair job should proceed: 1. Inspection & assessment The technician evaluates the damage, checks for underlying causes (e.g. leaks, structural movement), and determines how much needs removal. 2. Prepare and remove damaged drywall Cut out the affected drywall neatly, remove damaged sections, and clean back to solid substrate. Ensure surrounding surfaces are structurally sound. 3. Treat any moisture, mold, or source problems If water damage is present, thoroughly dry the space, apply mold inhibitors, and fix the source of the leak before proceeding. 4. Install replacement drywall if needed Fit a new drywall patch of the same thickness and type (standard, mold-resistant, green board, etc.), secure to framing or backing. 5. Tape and mud (joint compound) Use high-quality joint compound, embed tape or mesh, and apply successive coats, feathering out to blend with existing wall. Multiple passes may be needed, with drying and sanding in between. 6. Sanding and finishing Once compound is dry, carefully sand smooth. The goal is a seamless transition so the patch is invisible. 7. Texture matching Match the surrounding wall texture (e.g. orange peel, knockdown, smooth) to blend the patch. This often is the trickiest part for “invisible” repairs. 8. Primer + paint A primer coat seals the patch, followed by painting the repaired surface to match surrounding walls. 9. Final inspection & cleanup Check for any lines or shadows, touch up any imperfections, and clean up the area. When done right, the repaired area should be indistinguishable from the original wall. When DIY Is (or Isn’t) a Good Idea Many homeowners consider handling drywall repairs themselves. For very small jobs (nail pops, minor dents or pinholes), a DIY patch kit might suffice. But in Scottsdale’s challenging environment, there are risks and considerations: Pros of DIY Lower labor cost You control timing For trivial fixes, less risk Cons / pitfalls of DIY in Scottsdale Poor blending — amateur repairs often show lines or mismatches in texture Hidden moisture or mold — you may miss underlying damage Structural issues overlooked — cracks may reappear Time, mess, and rework — sanding dust, mistakes, wasted materials Durability concerns — professional-quality joints last longer In short: for any mid-size to significant repair (water damage, large holes, ceilings, textured walls), hiring a pro is strongly recommended. Why Choose Professional Home Repair for Scottsdale Drywall Repair Your site’s Scottsdale page already touches on strengths, but here’s how you can position the company in the blog: Local expertise in Scottsdale’s climate Your technicians understand how to work in desert conditions so drywall stands up to heat, monsoon moisture, and shifting conditions. Professional Home Repair Full handyman + drywall services From minor patches to full renovations, combined with other services so your home gets holistic attention. Meticulous blending, finish, and aesthetics You commit to seamless patching and texture matching so repaired walls look original. Preventive insight You don’t only repair visible damage — you look for underlying causes (leaks, foundation shifts) to prevent recurrence. Transparent communication & professionalism Homeowners appreciate knowing what’s happening, pricing breakdowns, timelines, and quality guarantees. Serving all of Scottsdale & neighboring cities Your presence in Phoenix metro, Scottsdale, Mesa, Gilbert gives you reach across the area. To strengthen trust, you can embed before/after photos, case studies (e.g. “recent Scottsdale ceiling repair”), client testimonials, and a call to request a free estimate . Smart Tips to Extend the Life of Your Drywall in Scottsdale Once repairs are done, homeowners should take proactive steps to reduce future damage: Control humidity and water intrusion — inspect plumbing, roofs, and flashing Use dehumidifiers or ventilation during monsoons or after leaks Minimize sudden temperature swings inside, especially in exterior-facing walls Use corner guards or protective plates in high-traffic areas Avoid overloading walls with heavy mounted items Inspect walls annually for new cracking, and address them early Sample Keyword‐Rich Section (for SEO) If you’re searching for drywall repair Scottsdale AZ or Scottsdale drywall repair , Professional Home Repair is your trusted local source. Whether you need drywall repair and maintenance in Scottsdale or a patch job on your ceiling, our team delivers quality that integrates with your home’s existing finishes. We handle everything from texture matching and mold remediation to crack repairs and new drywall installation. Don’t let damaged drywall detract from your home’s value — call us for professional service you can count on.

Contact Us