Drywall Repair Tips for Renters: Quick Minor Fixes
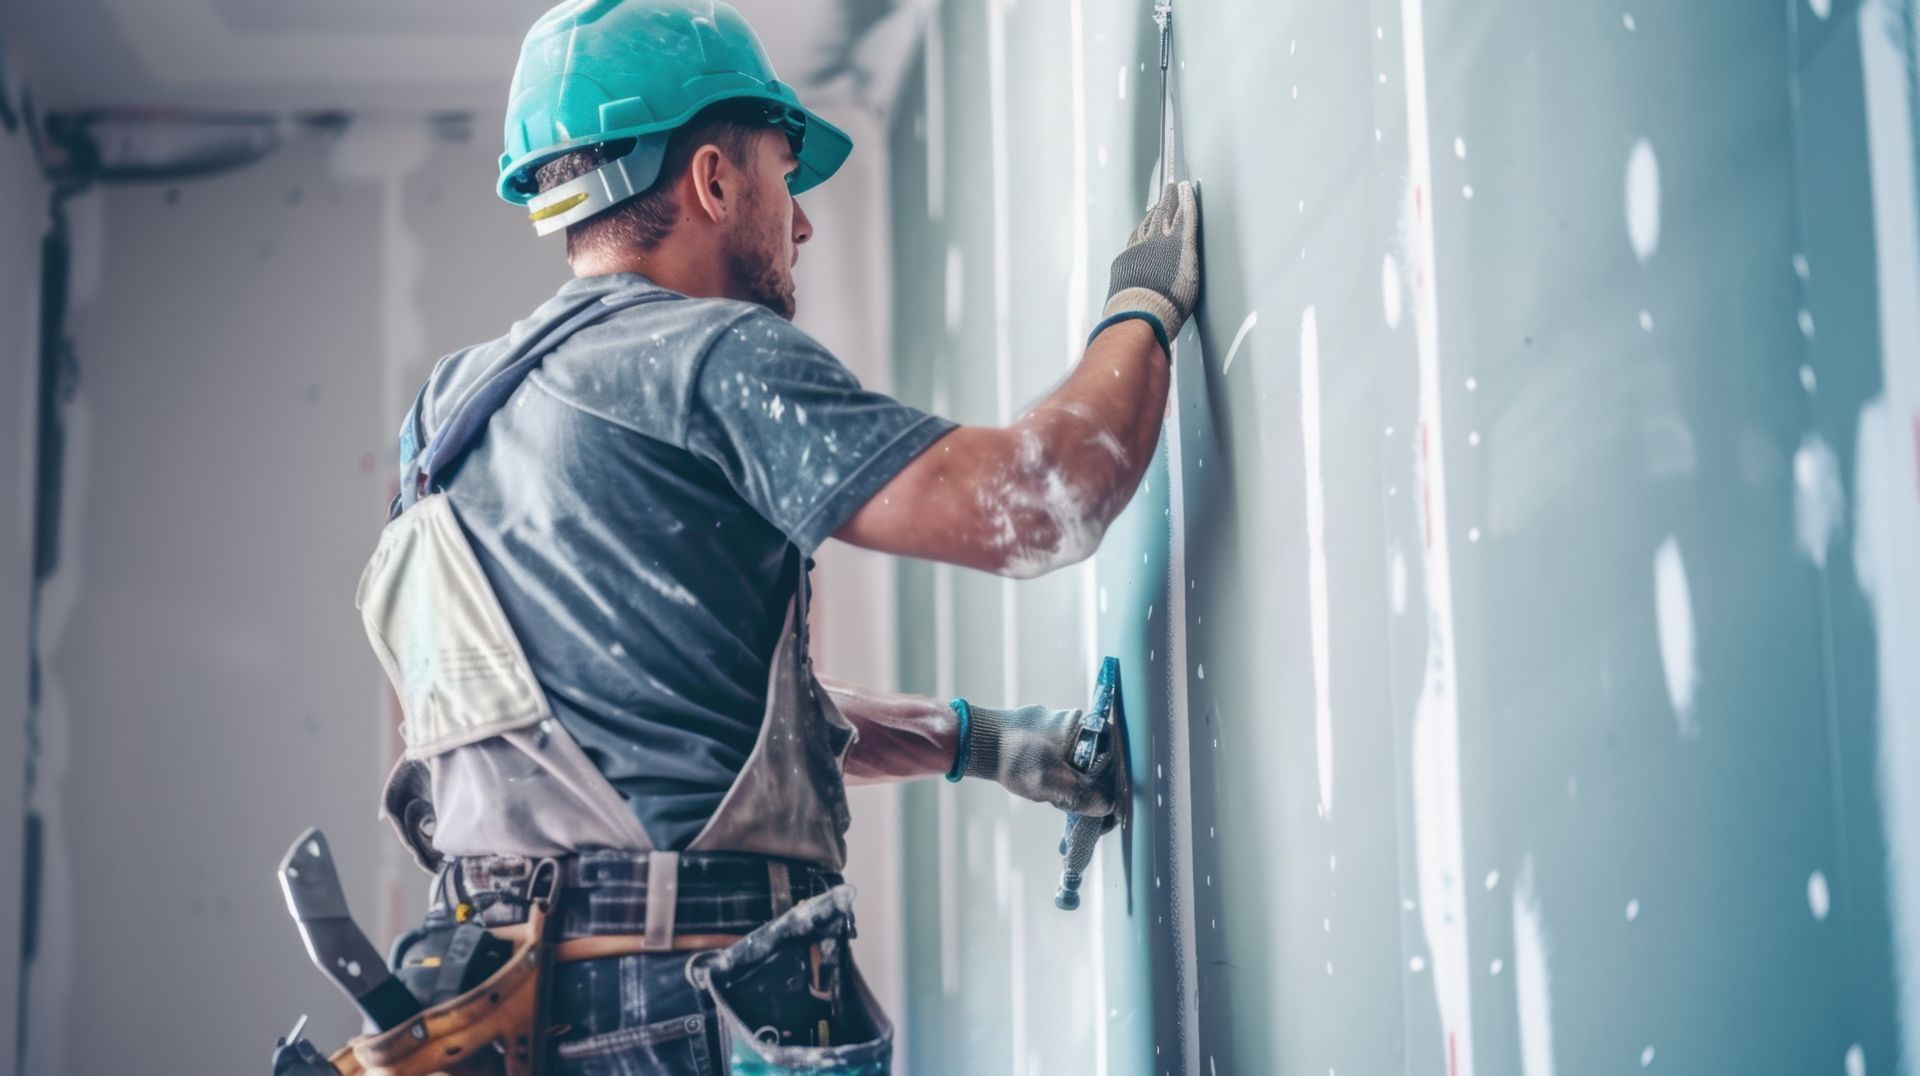
When it comes to rental properties, small wall damage like nail holes, minor cracks, or scuffs are common occurrences that renters often need to fix before moving out. Tackling minor drywall repairs doesn’t have to be a headache, especially with the right techniques and tools. For renters in Mesa, AZ, who want to handle these fixes on their own, DIY methods can provide quick, effective solutions without risking a deduction from the security deposit. Here are some top DIY drywall repair Mesa AZ tips to help with quick fixes for minor damage, including expert advice that Mesa AZ renters can rely on.
Filling Small Holes with Putty: Quick and Easy Fix for Nail or Screw Holes
Nail and screw holes are the most common form of wall damage in rental properties. Thankfully, they’re one of the easiest repairs you can do yourself with a little bit of putty or spackle.
Step 1: Choose the Right Putty
For small holes, use a lightweight spackle or putty, which dries quickly and is easy to work with. Many products available are pre-mixed, so there’s no need to worry about preparation or drying times, making the process smoother for DIYers.
Step 2: Apply the Putty
Apply a small amount of putty to the hole with a putty knife, ensuring it fills the hole completely. Smooth the surface by wiping excess putty away with the edge of the putty knife, creating a flat, even surface.
Step 3: Let It Dry and Sand
After the putty has dried, sand the area lightly to remove any rough edges or excess putty. Use fine-grit sandpaper for a smoother finish. Once complete, the repair should blend seamlessly into the surrounding wall, especially once painted over.
Using Removable Patches: Patches That Can Be Painted but Easily Removed When Moving Out
For slightly larger holes, like those from drywall anchors, a simple putty fill might not be enough. Removable patches are an excellent alternative that provides a temporary fix with a professional look. These patches are ideal for renters because they can be painted over to match the wall but are removable if required when it’s time to move out. They’re especially useful in areas with moderate traffic where slight wall damage is more noticeable.
Step 1: Purchase Self-Adhesive Patches
Self-adhesive wall patches come in various sizes and are perfect for covering holes up to a few inches in diameter. These patches have a metal or mesh center and are sticky on one side, making them easy to apply.
Step 2: Apply the Patch
Remove the backing from the patch and press it firmly over the hole. Be sure to smooth out any edges so that it lies flat against the wall.
Step 3: Add a Layer of Spackle or Putty
Once the patch is secure, use a putty knife to apply a thin layer of spackle over it, feathering the edges to blend it with the surrounding wall. Allow it to dry, then sand for a smooth finish.
Touch-Up Paint Tips: How to Match Wall Colors Without a Full Repaint
Finding the right color match for wall touch-ups can be tricky, especially if the paint color isn’t known. Taking these steps can help make touch-up paint jobs look professional and prevent the need for repainting an entire wall or room. Learn some more tips when you read “How to Patch and Paint Drywall Like a Pro.”
Step 1: Find the Original Paint
If possible, check with the property manager or landlord for the exact color and brand of paint used in the home. Many landlords keep spare paint on hand for this reason, allowing renters to easily cover small repairs.
Step 2: Use Paint Matching Tools
If the original paint is unavailable, many hardware stores have paint-matching devices that can scan a small paint sample from the wall and create a near-perfect match. Some apps can also help you identify paint colors by scanning the wall.
Step 3: Apply Paint with Precision
When applying touch-up paint, use a small brush rather than a roller for better control over the coverage area. Feather the paint around the edges of the repair to blend it into the surrounding wall. If done correctly, this technique can make minor touch-ups almost invisible.
Caulk for Cracks in Corners: Tips for Fixing Hairline Cracks with Clear or Paintable Caulk
Small cracks in corners are often caused by natural settling or slight shifts in the structure. Using caulk can be an effective and flexible fix for these types of minor cracks.
Step 1: Choose the Right Caulk
Opt for either a clear or paintable caulk to blend with the wall color. Acrylic latex caulk is ideal for indoor use and works well on most drywall surfaces.
Step 2: Apply a Thin Bead of Caulk
Using a caulking gun, apply a thin bead of caulk along the crack, pressing it in with a damp finger or caulk tool to ensure it fills the gap evenly. Avoid overfilling, as excess caulk can create a noticeable line.
Step 3: Smooth and Let It Dry
Use a damp cloth to smooth the caulk and clean any excess from the wall. Allow the caulk to dry fully before painting over it (if you chose a paintable caulk), which will help it blend seamlessly into the surrounding area.
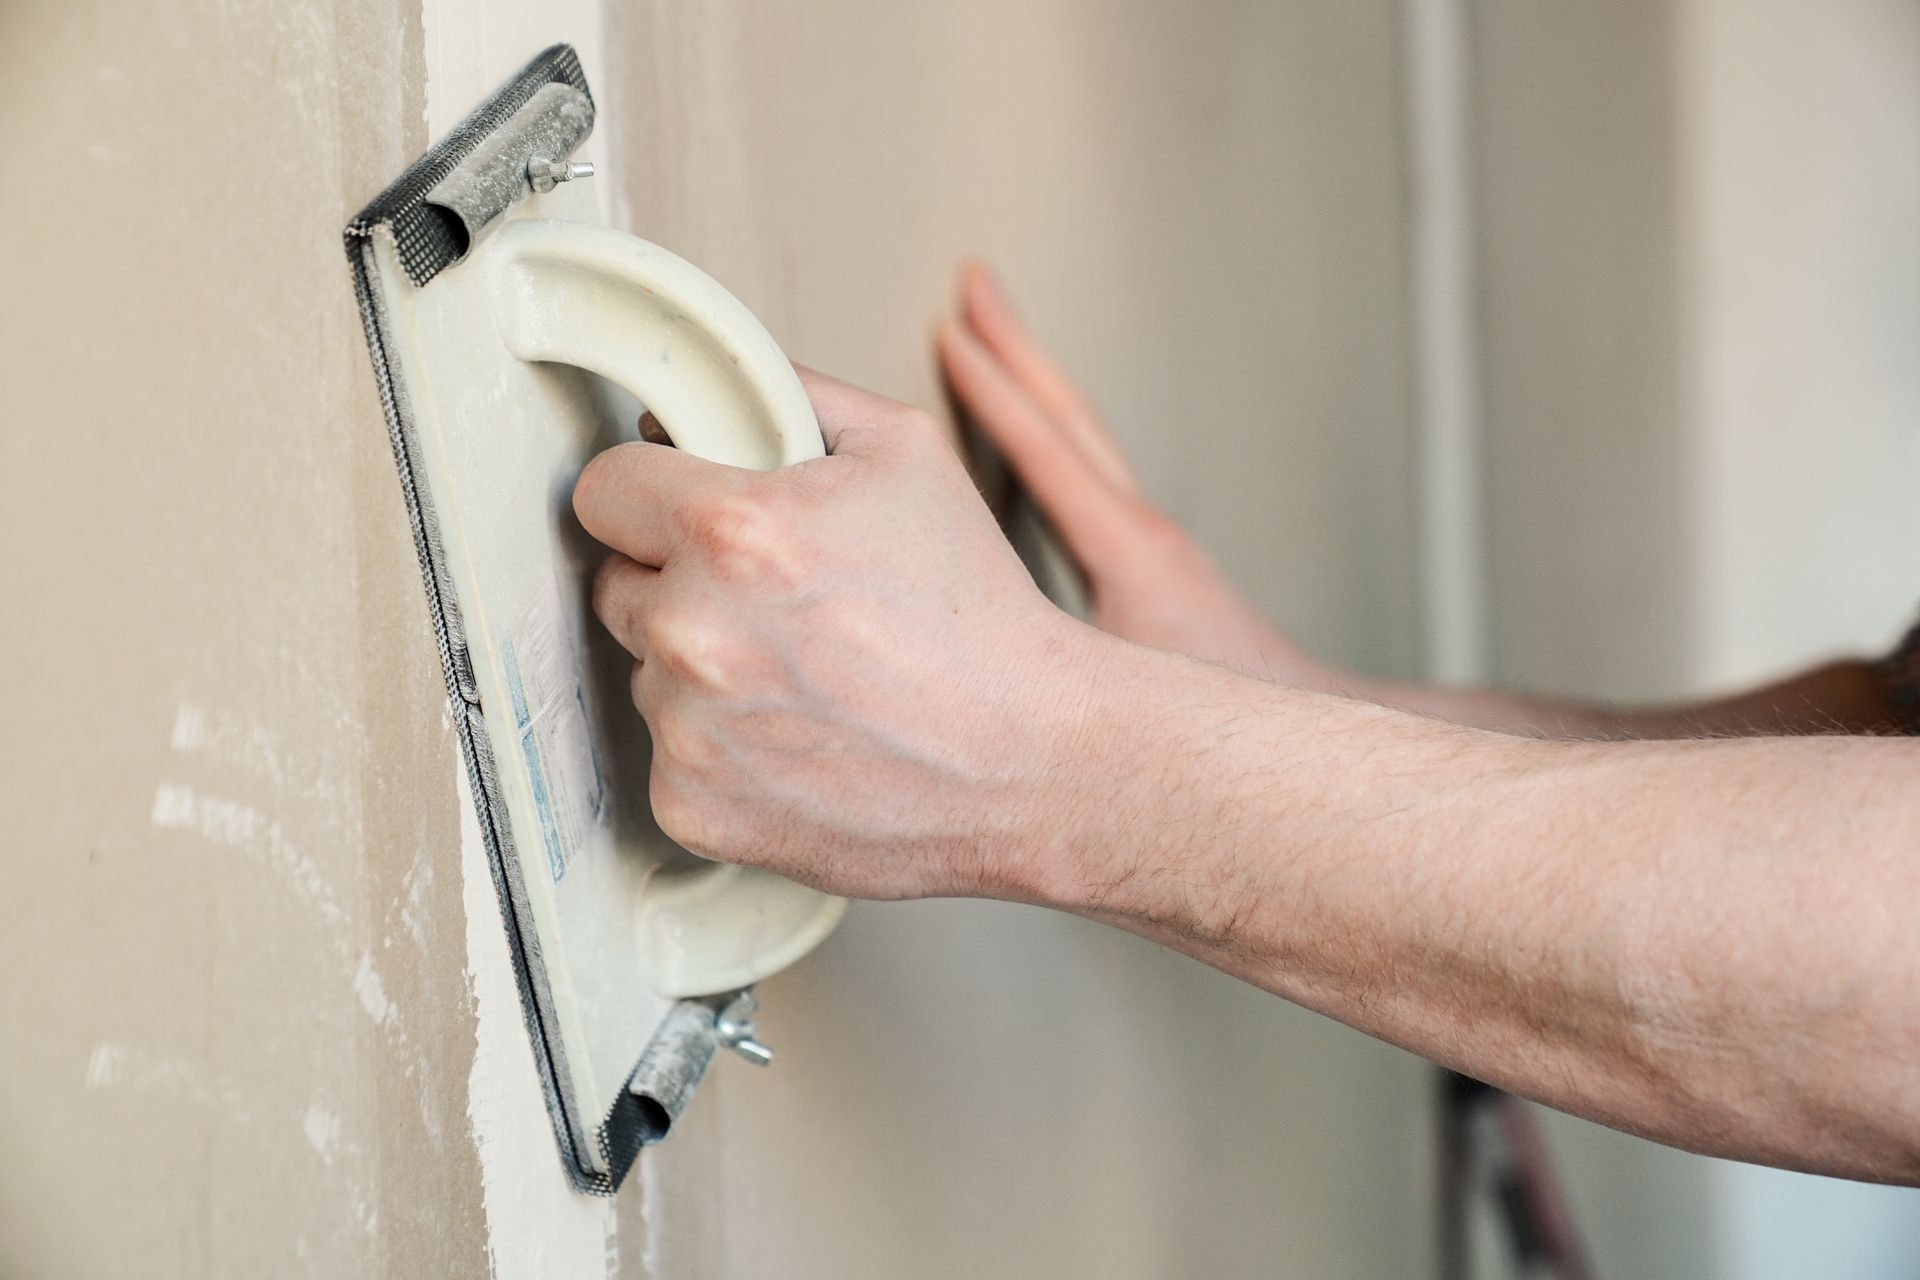
Sanding and Blending: Techniques for Minimizing Repairs without Extensive Materials or Tools
To achieve a truly seamless repair, especially for renters trying to keep repairs simple, sanding and blending is crucial. This technique ensures that patched areas are smooth and flush with the rest of the wall.
Step 1: Start with Coarse Sandpaper
For larger repairs, start with a medium to coarse sandpaper (about 120 grit) to remove excess putty or spackle and bring the repaired area level with the surrounding wall. Use light pressure to avoid over-sanding, which can damage the wall.
Step 2: Finish with Fine Sandpaper
Switch to a finer grit sandpaper, such as 220-grit, to smooth out any roughness left behind by the coarse sandpaper. This step ensures a polished, smooth finish that’s ideal for painting over.
Step 3: Clean the Area
After sanding, use a damp cloth or tack cloth to wipe away any dust before painting or applying touch-up paint. This cleaning step is essential to achieving a professional finish.
Conclusion
Minor drywall damage doesn’t have to be a major issue for renters. With these simple DIY methods, it’s easy to take care of small repairs without leaving lasting marks on the property. Each technique, from filling holes with putty to blending touch-up paint, is designed to keep walls looking smooth and well-maintained. By following these tips, renters can ensure their space looks pristine, helping to preserve their security deposit.
For larger drywall issues or professional results, consider reaching out to a trusted handyman or repair service, such as
Professional Home Repair. Save time and ensure that each repair is expertly handled, giving you peace of mind that your rental space will look great upon move-out. Let the pros tackle those challenging fixes so you can focus on enjoying your home.
Contact us today
for a convenient and stress-free experience, tailored to your repair needs.
You might also like
Professional Home Repair Blog