Drywall Finishing Levels: Choose the Right One for Your Wall
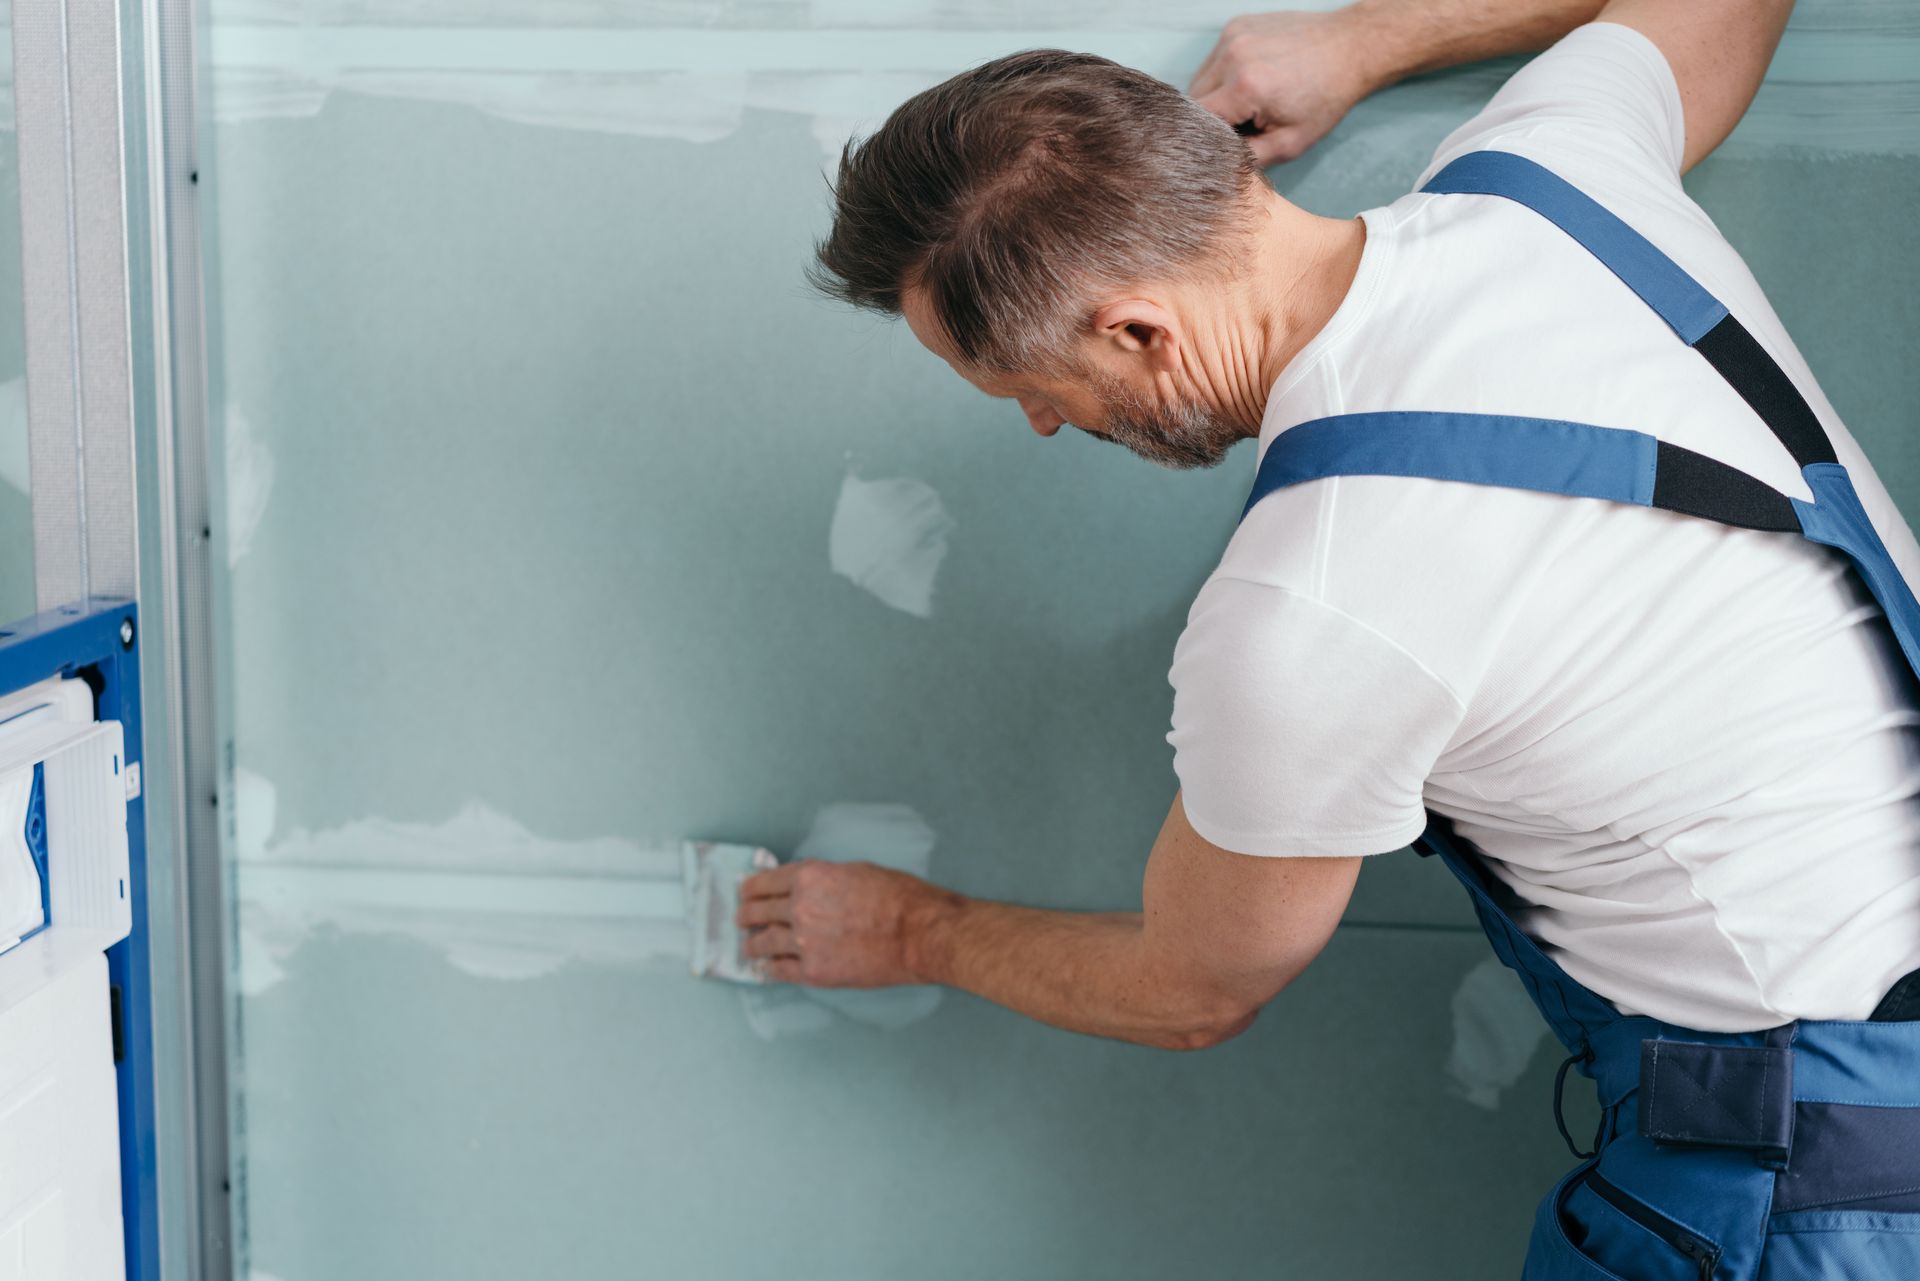
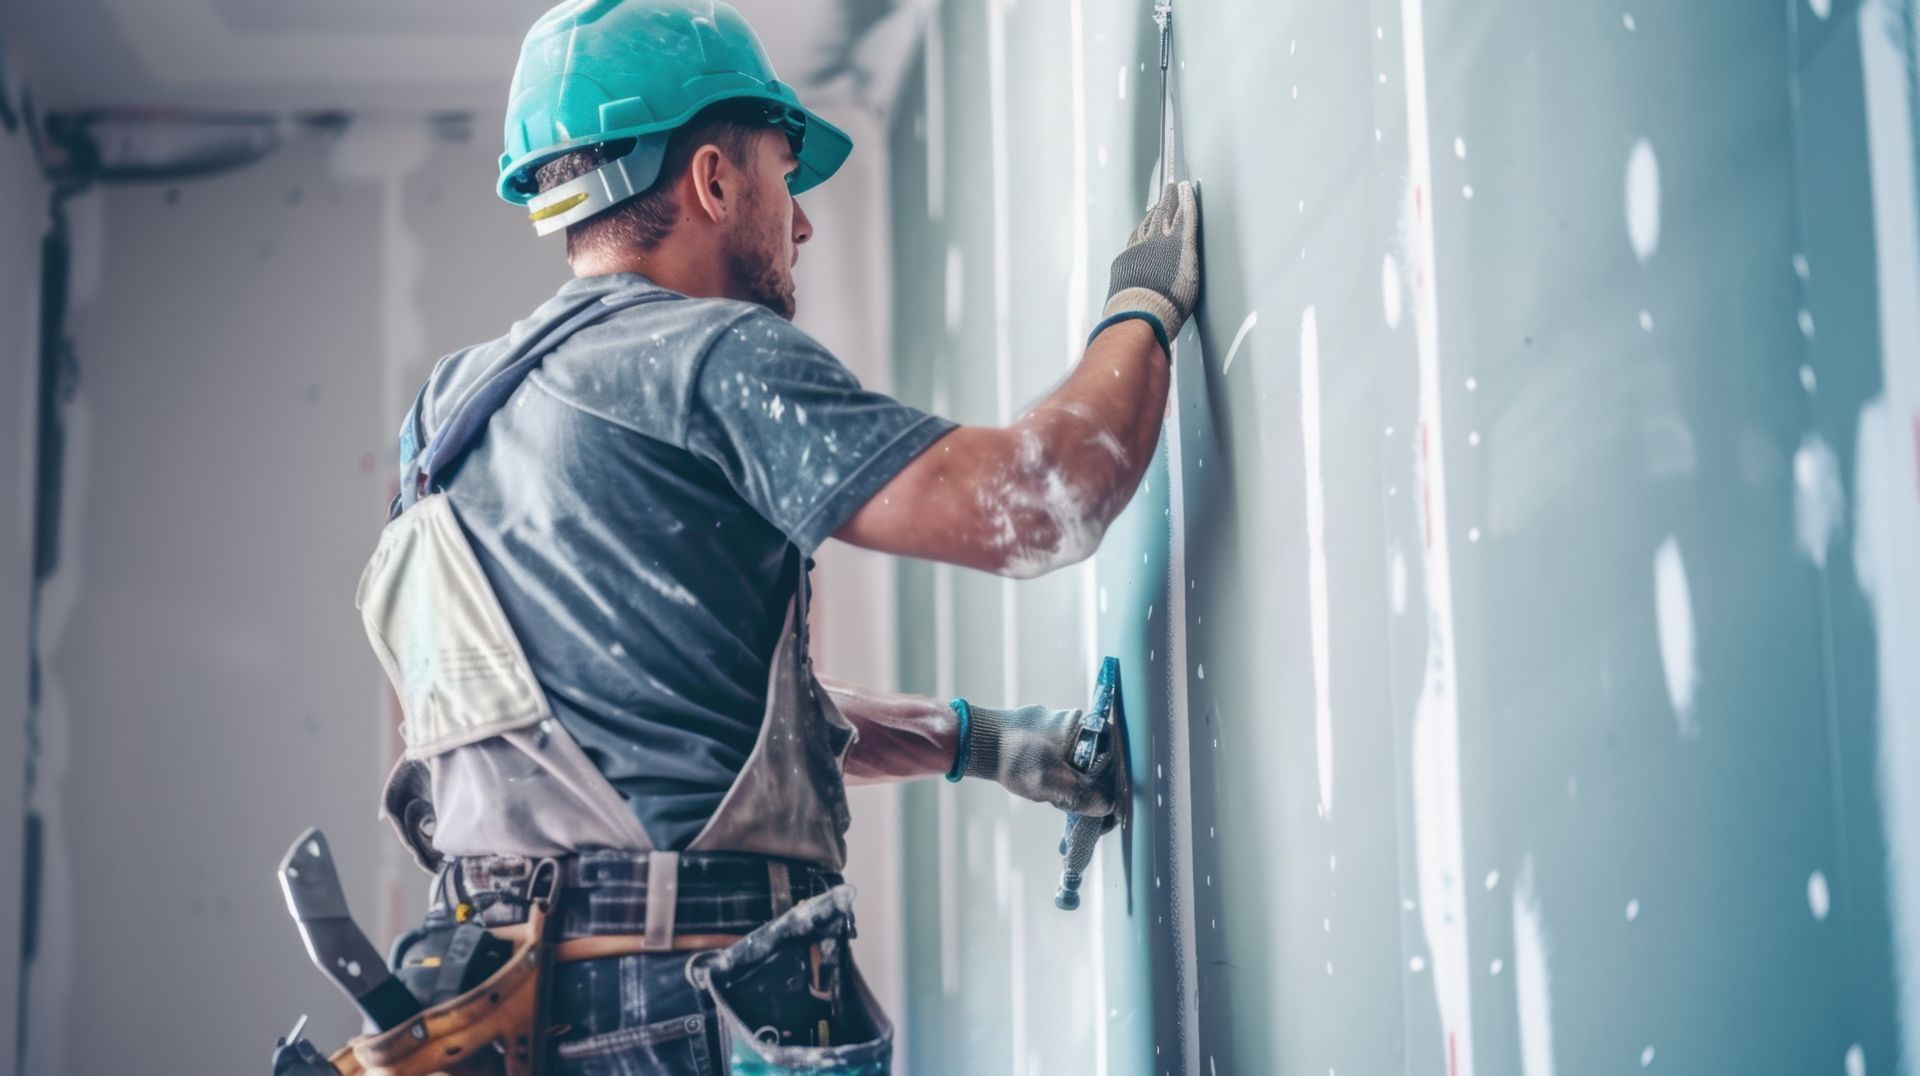
Achieving a professional finish on drywall requires understanding the different finishing levels and how they affect the final appearance of a wall. Whether working on a home renovation or a commercial project, selecting the appropriate level ensures durability and visual appeal. Drywall contractors Phoenix follow industry-standard finishing levels to provide high-quality results tailored to each space. From raw drywall in unfinished areas to perfectly smooth surfaces for high-end applications, knowing the right level can make all the difference. This guide breaks down each drywall finishing level so homeowners and builders can choose the best option for their needs.
Level 0: No Finish – When Raw Drywall is Acceptable
Level 0 is the starting point of all drywall installations. At this stage, drywall sheets are hung, but no taping, mudding, or finishing has been applied.
1. Best for Temporary or Storage Spaces
Since there are no joint compounds or tape applied, this level is typically seen in areas where aesthetics are not a concern. It is commonly used for temporary walls, construction zones, or storage rooms where finishing is unnecessary. The exposed drywall may show visible seams and fasteners, but since these spaces are not meant for display, this is not an issue.
2. No Labor or Material Costs for Finishing
It is the most cost-effective option because there are no additional steps taken beyond attaching the drywall. This saves time and labor costs, making it ideal for projects where budgeting is a priority. However, if the space is later converted into a finished area, additional work will be required.
3. Requires Further Finishing for Paint or Texture
If a smoother appearance is needed in the future, additional finishing levels must be applied before painting or applying texture. Applying tape and joint compound is necessary to cover seams and screw holes to achieve a uniform look.
Level 1: Basic Tape Application – Used in Hidden Areas Like Attics
Level 1 is a step up from raw drywall, where tape is applied over joints but remains visible. This level is suitable for areas that do not require a polished look. If you have some problems with your drywall, read “How To Blend Drywall Repairs With Existing Paint: Expert Fix,” to learn how the pros deal with it.
1. Minimal Finishing for Concealed Spaces
This level is typically used in spaces such as attics, crawl spaces, and utility rooms where drywall is installed for basic coverage rather than appearance. The taped seams help strengthen the drywall joints, but no extra effort is made to smooth them out.
2. Some Joint Compound Applications
While tape is applied over joints, only a light coat of joint compound is used, meaning surface imperfections remain visible. This helps secure the tape in place but does not provide the smoothness needed for painting or finishing.
3. Not Suitable for Painting or High-visibility Areas
Since the surface is unfinished and rough, additional work is required if the drywall is to be visible in living spaces. If future upgrades are needed, further taping, coating, and sanding will be necessary to create a seamless appearance.
Level 2: Coated Joints – Common for Garages or Tile Backers
Level 2 introduces a second layer of joint compound, offering slightly more coverage while keeping the process minimal.
1. A Smoother Surface for Functional Spaces
This level is commonly used in areas where drywall serves a functional purpose rather than an aesthetic one, such as garages, workshops, and behind tile backers in bathrooms and kitchens. It provides a basic finish that protects the drywall while remaining cost-effective.
2. Joint Compound Covers Tape but Not Fully Smoothed
A thin coat of compound is applied over the taped joints, but tool marks and surface inconsistencies remain visible. This step improves durability and helps prevent the tape from peeling but does not achieve a flawless look.
3. A Necessary Step for Tile Installation
When drywall serves as a tile backer, Level 2 finishing ensures proper adhesion while eliminating the need for full finishing and sanding. Since tiles will cover the drywall surface, achieving a perfectly smooth look is not required.
Level 3: Additional Coats – Prepping for Heavy Texture Finishes
At Level 3, additional coats of joint compound create a smoother surface, preparing the drywall for heavy texture applications.
1. Best for Thick Textured Walls and Ceilings
If a surface is going to be covered with a heavy texture, such as knockdown or stucco-style finishes, Level 3 provides a good base without requiring full smoothness. This level ensures the drywall is strong and ready for the application of texture coatings.
2. Multiple Coats of Joint Compound Applied
Joints and screw holes receive additional coats of compound, reducing rough edges and visible seams. While not perfectly smooth, it is a significant improvement over Level 2 and makes it easier for textured coatings to adhere properly.
3. Not Recommended for Smooth Paint Finishes
Because minor imperfections remain, Level 3 is not ideal for walls that will be painted with flat or glossy finishes. The surface still has noticeable irregularities that can show through light-colored or reflective paint.
Level 4: Smooth and Paint-Ready – Best for Standard Wall Surfaces
Level 4 is the industry standard for walls that will be painted with light textures or flat finishes. It provides a clean, smooth appearance suitable for most homes and offices.
1. Ideal for Residential and Commercial Interiors
This level is used in most living spaces, offices, and commercial buildings where a professional, paint-ready finish is required. It is the most common finishing level for walls that need a smooth appearance without requiring an ultra-premium finish.
2. Three Layers of Joint Compound and Sanding
A third layer of joint compound is applied over joints and screw holes, then carefully sanded to ensure a smooth finish. This process eliminates most visible flaws and prepares the drywall for painting or light texture applications.
3. Works with Light Textures and Matte Paints
This level provides a smooth enough surface for most paint applications, though high-gloss finishes may still highlight imperfections. Lightly textured walls or matte paints work best with Level 4 drywall finishing.
Level 5: The Perfect Finish – Ideal for High-End, Glossy Paint Jobs
Level 5 is the highest standard in drywall finishing, offering a perfectly smooth surface with no visible imperfections.
1. Required for High-End Homes and Commercial Spaces
This level is used in luxury homes, showrooms, and commercial buildings where aesthetics are a top priority. The flawless finish ensures that the walls look perfect under any lighting conditions.
2. A Skim Coat Covers the Entire Surface
A thin, even coat of joint compound is applied over the entire drywall surface, eliminating minor imperfections and tool marks. This extra step ensures maximum smoothness and consistency.
3. Essential for Glossy Paint and Direct Lighting
High-gloss paints and strong lighting can reveal even the smallest blemishes. Level 5 finishing ensures a flawless look with no visible seams or inconsistencies, making it the best choice for high-end interior design.
Conclusion
Choosing the right drywall finishing level is crucial for achieving a professional look. Whether it's a basic tape application for storage areas or a flawless Level 5 finish for luxury interiors, each level serves a specific purpose. Drywall contractors follow these industry standards to deliver high-quality results for homes and businesses. Understanding these levels helps homeowners and builders make informed decisions about their projects. Selecting the right finish ensures durability, aesthetics, and long-term satisfaction.
A great drywall finish makes all the difference in the final look of your home or business. Trust the experts at
Professional Home Repair
to deliver high-quality drywall installation and finishing that meets your needs. Whether you need a basic finish for a garage or a flawless Level 5 finish for a showroom, our team has the experience to get the job done right. Don’t settle for uneven surfaces or visible seams—let our professionals handle the details.
Contact us today
for expert drywall services that guarantee a polished, professional look.
You might also like
Professional Home Repair Blog